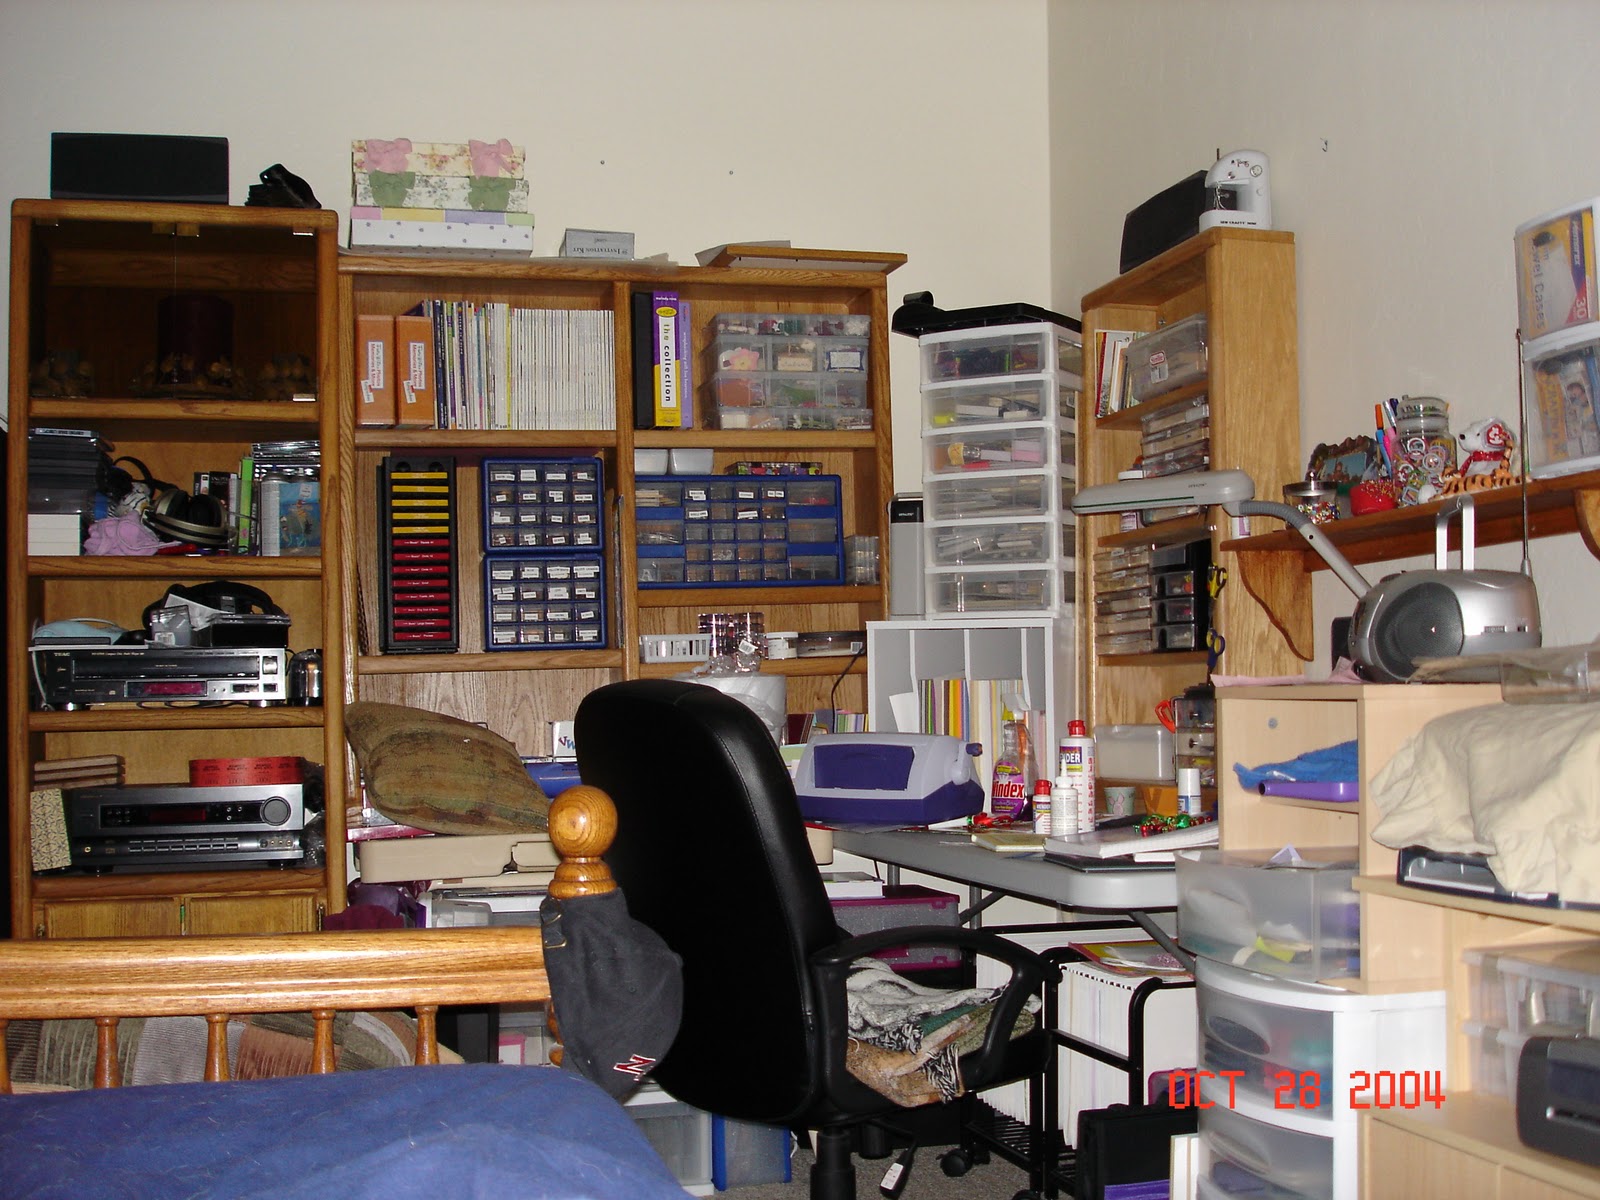
Organized? Who me? Actually when I look around my craft room I see that everything pretty much has a place to be. Now weather I put stuff back in those places is another story! LOL
OK…where do you craft…do you have a specific area? Or at the dining room table? I started at the dining room table, went to a corner of my bedroom and was lucky to move into my very own craft room last summer. Our oldest moved out and we ended up with the space! Yeah me!
It is always nice to have a blank slate to design your craft area or room! But as it is for most of us we started buying or acquiring things before we made a plan. If you are happy with what you have right now…STOP and come back in a few days for a different post. If you want some ideas or tips keep reading!
Now if you are working with a small space like a closet or just a spot in a room I can recommend a few things. First go tall. Use up the space you have with shelving units, stackables, or cube units. Then I would purchase a folding table or cart for actually doing your work on. It's nice with a fold-a-way- style because when you are done for the day you can put it away. Some of the craft carts are nice because a lot of times they have storage built right in! Storage is needed, but a good work area is a must.
Here are some pictures of what I started with….
I put 2 different bookcases and a stackable drawer onto the top of a folding table.
This was after I got my cabinet from For-Keeps and got my desk from Target. The For-Keeps has a counter that pulls out of the bottom section.
Shelving units can be the wall mounted with brackets or book cases stacked, but the wall mounted would be less expensive. (I bought the 16” wide shelves as well as the standard size) I like these because you can put as much space as you need between them and you can mount those brackets floor to ceiling! Gives you a lot of space!
 Here is a picture of part of my wall shelves. I like the fact if I want to change them I can!
Stackables, depending on what you are using can get expensive, especially if you go wood. I bought my cabinet (which you see above and later) at www.for-keep-sake.com. They carry several items that you can put together to make the area you want. Here are some other sites you can check out… www.bestscrapbookshelf.com www.scrapncube.com and www.theoriginalscrapbox.com . Some of these can get expensive but they will last forever!Cubes, cubes and more cubes. I love mine. I bought mine at Target, on sale for half off. But what I like about them is you can build it how you want it. I do not recommend using the long shelf as a desk though. It’s just not that sturdy for cutting and it’s not that wide. It’s great as a shelf in the unit though. Also I had bought the round, corner cube and don’t really like it. It doesn’t hold my books the way I wanted…so I put my 2 scrapbooking cases there.
 You can see the 2 cases there on the left. The drawers are great to have...more on that later.
 Now if you have a whole room to design you can get crazy! Well depending on your budget. If I could do my room all over I would add more peg board! It’s really inexpensive, but very versatile. Of course you have your regular hooks, but you can add baskets, bins, or buckets. AND you can design it as you want and change it anytime you want to. I found a board at Lowes for my mom for $3.00 and it was 2’ x 8’. Like I said I would have added more if I would have thought about it.
The wall mounted shelves, the cubes, and stackables are also good when designing a room. I recommend making a diagram of your room using graph paper and make miniature examples of what you want to put in the room. This way you can move stuff around without the weight! And you can buy only what you really want knowing it will fit.
The best thing that I purchased for my room was a table. I bought a black one from Target that has 2 36” bookcases on each end and a table top that sets right on top of the two cases. It is 51” long by 38” wide. And it is counter height! I love being able to stand or sit as I want. Fits great in the center of the room!
Here are some pictures:
 I have my copics, stickles, cuttlebug and a desktop organizer on top and still have plenty of room to work. I have storage drawers and my folders of my printed digis as well as some paper stored under the table. On each side I store paper, photo boxes (filled with all kinds of stuff), sew mini, and books.
There are more out on the market that are about the same as what I paid and some even a little less. Here are some sites I found: www.target.com they carry Venture and Coastline www.racksandcabinets.com for Spartan you can also check Sears. All else fails by 2 shelving units you like and make a table top. Ok enough about rooms. Next post will be about getting the area organized after you have it designed.
 I showed how I store my ribbons in glass jars; some still on the original spool (ones I haven’t opened yet) and some on round headed clothes pins. (see picture below) I will wrap the ribbon and pin the end. I don’t like pinning them but it is the easiest I have found so far…any other ideas feel free to let me know. I also put all of my buttons in a jar..now I say jar but most of them are more like vases. Anyway my buttons go in there unless I got them for something specific, then I put them somewhere safe so I don’t use them and then forget where I put them. Gotta love it!